Automating daily builds with msbuild and VS 2019 (Part 2 of 2) - Deployment packages
In my last post, we set up automatic versioning for an example .NET Core 3.1 project. We’ll now build on this example project and create deployment packages.
The source code for this blog post can be found in this repo.
Overview
In order for the build process to work, we’ll create several files that will work together. The paths below indicate the relative directory structure of your VS solution, where the root folder contains your .sln file:
- /build/Daily.targets - Main build instructions for each platform & configuration
- /WiX Setup/WiX Setup.wixproj - .MSI package pre/post build instructions
- /WiX Setup/Product.wxs - .MSI package build definitions and installation location
I think it’ll make the most sense to create the WiX project first, then finally create the targets file last to tie everything together.
WiX project skeleton
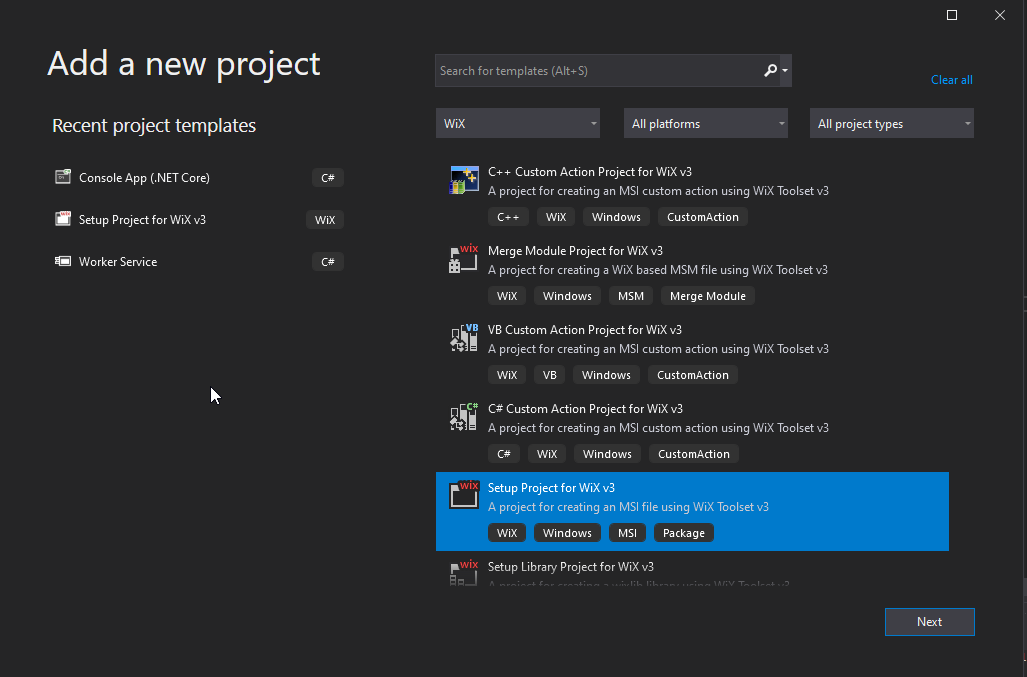
Right-click on your solution and add a new Setup Project for WiX v3. Name it “WiX Setup” (without quotes) and leave the default location. It should end up in /WiX Setup/, with the solution directory as your relative root:
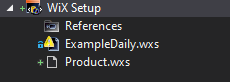
You should end up with a WiX project containing the default copies of Wix Setup.wixproj and Product.wxs:

Once the WiX project is in place, you will replace both of the files mentioned above (Wix Setup.wixproj and Product.wxs) with the templates I’ve created. For both files, you will need to insert your own GUIDs, which can be generated here.
- Wix Setup.wixproj
- You will either need to unload the project file first, or use an outside editor for this file.
- Replace the GUID found in the
<ProjectGuid>tag with your own. - Both the
<ProjectName>and<ProjectFullName>are set to “ExampleDaily” and “Example Daily Build”, respectively. You can change these if you are integrating them into an existing project.
- Product.wxs
- Replace the GUID found in the
UpgradeCodeattribute of the<Product>tag with your own. - Replace the
Manufacturerattribute of the<Product>tag with your own.
- Replace the GUID found in the
The reason for replacing the GUIDs with your own is to prevent conflicts during the MSI installation.
You’ll note that when you insert the templates and reload the project, there is now a missing reference to ExampleDaily.wxs. You can safely ignore this, as this file will be generated on-the-fly during the build process (and if using git, you should add it to .gitignore):
We now have the WiX project skeleton in place. Note that you will not be able to build the WiX project within Visual Studio until certain conditions are met (and you will seldom want to). I’ll explain more in the next section.
NOTE: At the time of this writing there is a bug in Visual Studio which prevents reloading of the project if it detects an invalid GUID, even after inserting a new one. If this happens, just restart Visual Studio and then reload the WiX project.
Targets file
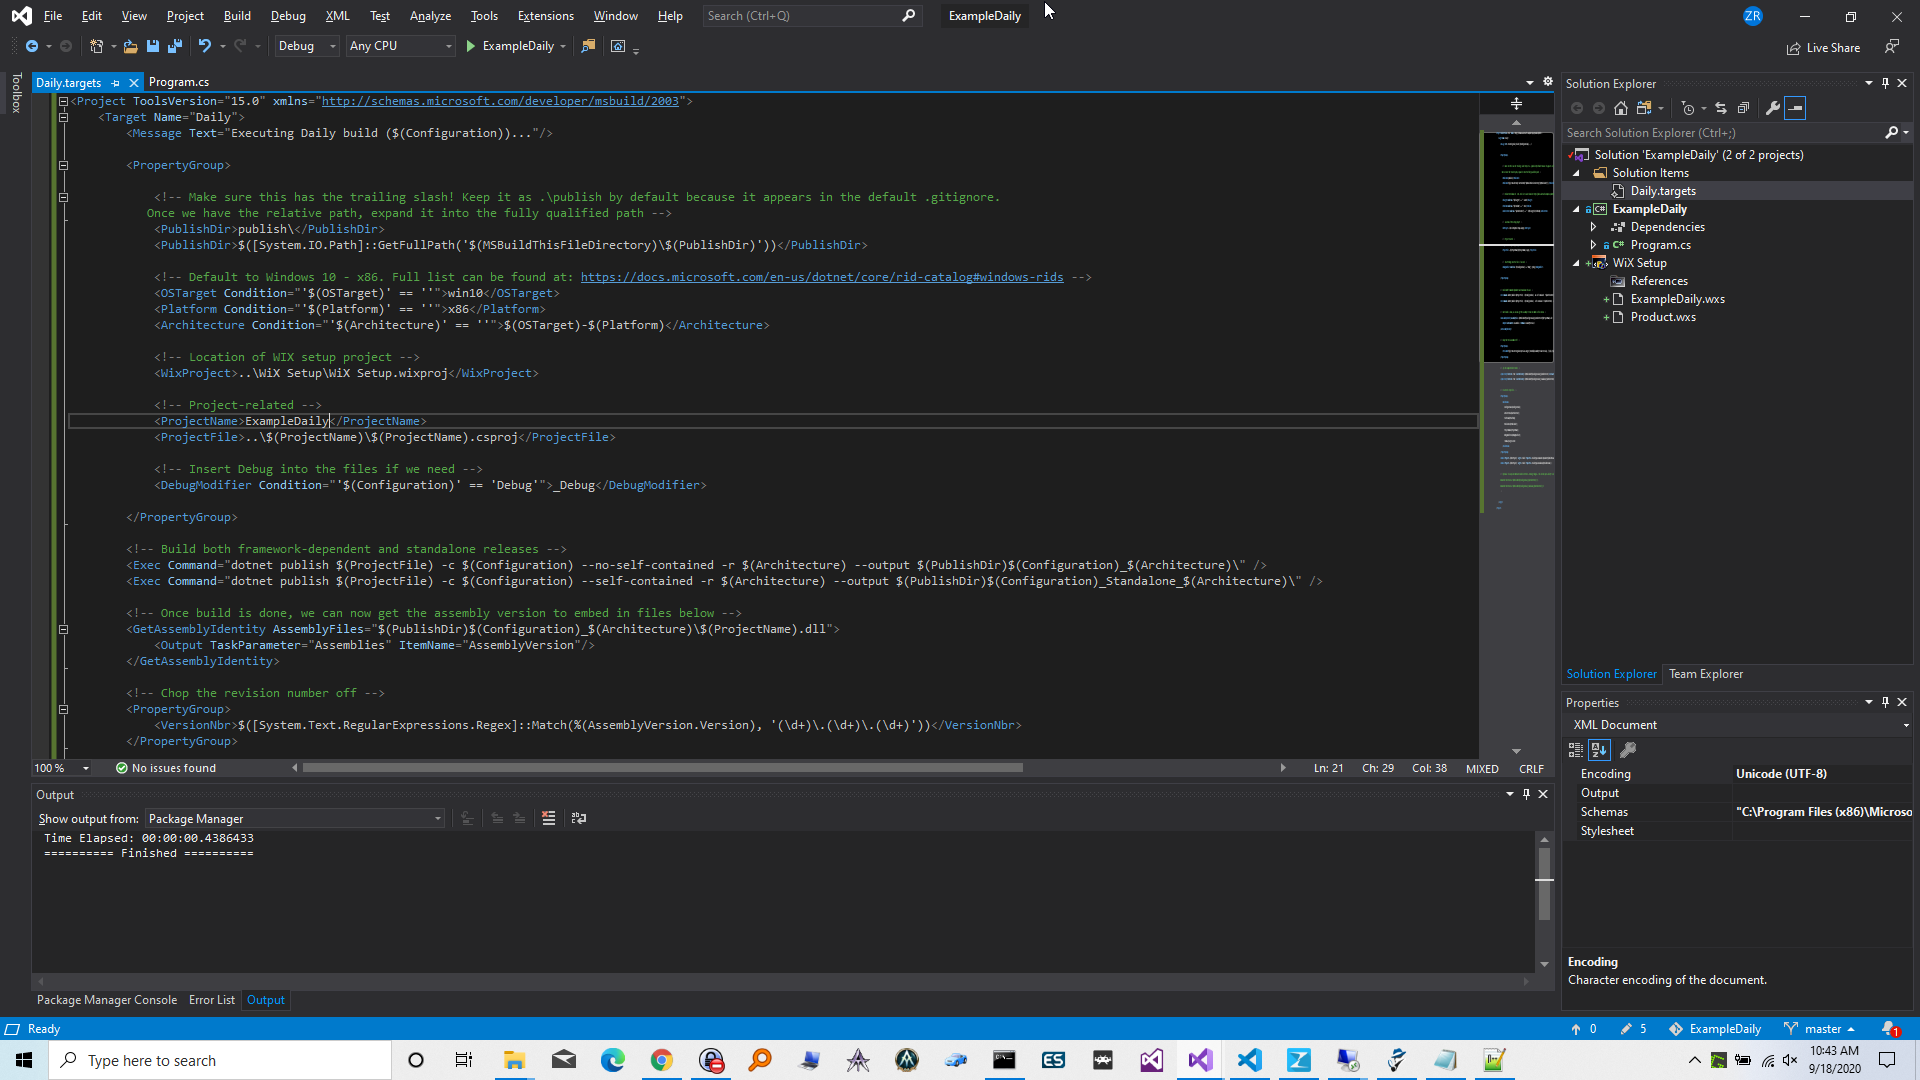
Create a new directory in your solution root called build, and download the Daily.targets file to it. Add the file as a solution item into Visual Studio to make editing easier:
Executing the build
With everything in place, it’s time to run the build process. Open a VS command prompt and navigate to the build directory in your solution. Run the following command:
msbuild Daily.targets /property:Configuration=Release;Platform=x86
You should see output similar to the following and receive no errors:
C:\Users\Zeb\source\Repos\ExampleDaily\build>msbuild Daily.targets /property:Configuration=Release;Platform=x86
Microsoft (R) Build Engine version 16.7.0+b89cb5fde for .NET Framework
Copyright (C) Microsoft Corporation. All rights reserved.

<... Build output ...>

Done Building Project "C:\Users\Zeb\source\Repos\ExampleDaily\build\Daily.targets" (default targets).


Build succeeded.
    0 Warning(s)
    0 Error(s)

Time Elapsed 00:00:20.60

C:\Users\Zeb\source\Repos\ExampleDaily\build>
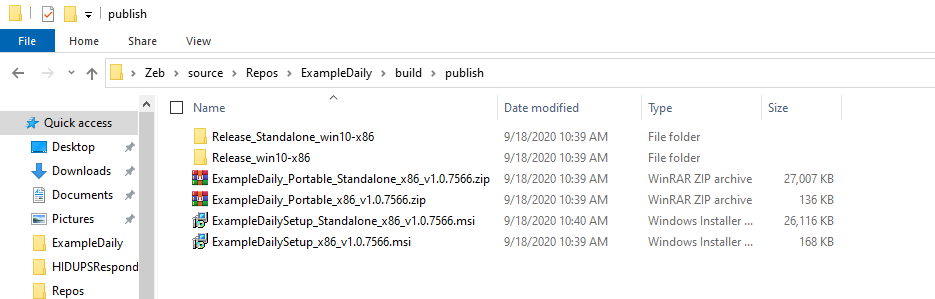
The finished product will be in the /build/publish directory. I chose this path for the following reasons:
- Any directories named publish are in VS-generated .gitignore files by default
- Publishing outside of the ExampleDaily project directory (but still within the solution directory) avoids the creation of extra files and directories. More info on this: https://jonhilton.net/2016/08/18/publishing-your-net-core-web-app#to-infinity-and-beyond
You should see something similar to this:
Also, now that the files and folders have been generated, you will be able to build the WiX project in Visual Studio as long as your /build/publish directory contains the subdirectories corresponding to your target configuration and platform.
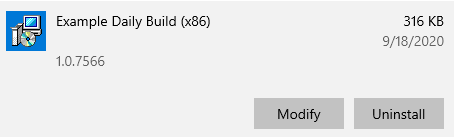
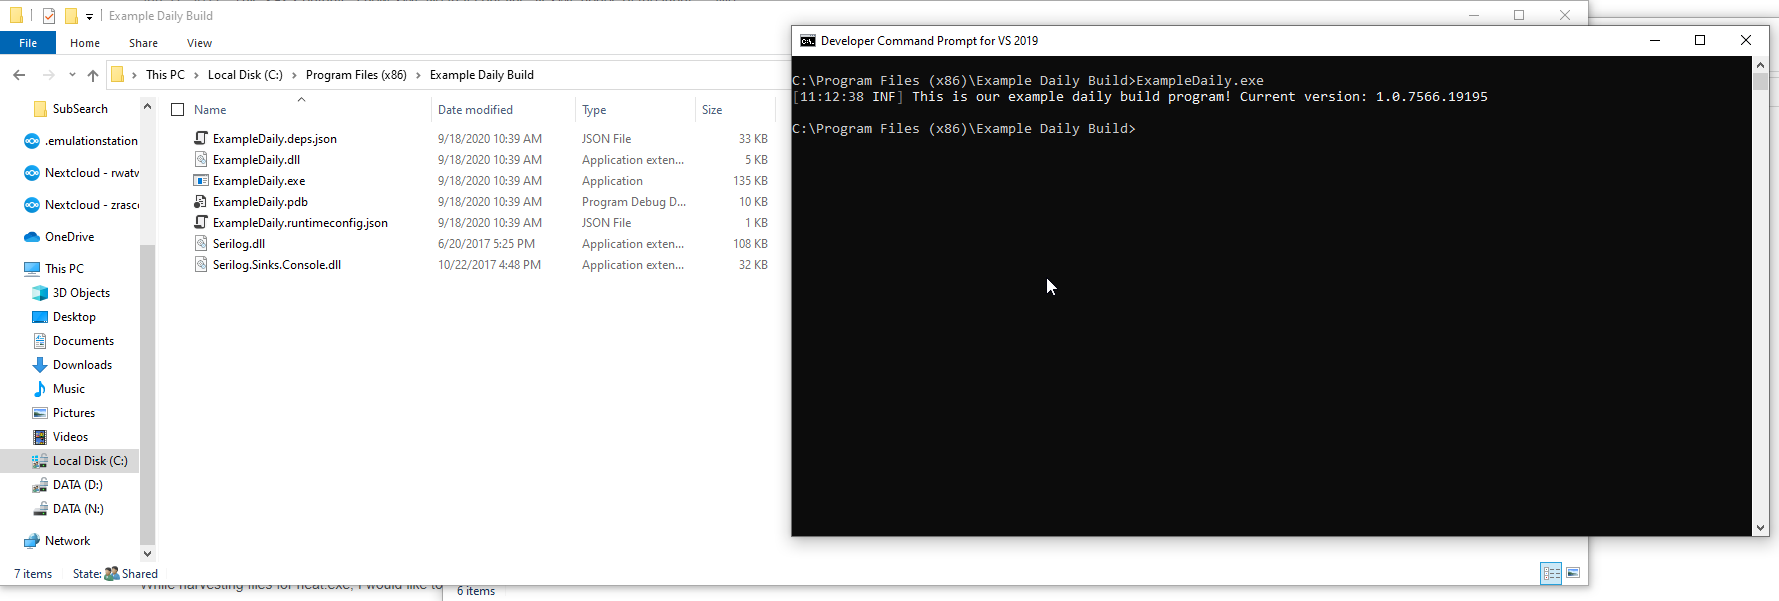
Run one of the MSI files to install the package. You will likely need to accept a UAC prompt as it installs to the Program Files directory. Once complete, you can verify by looking in Add/Remove programs and by executing the installed ExampleDaily.exe file:
Building per configuration
Up above, we ran this command to build the x86 Release version of ExampleDaily:
msbuild Daily.targets /property:Configuration=Release;Platform=x86
Taking a closer look, we can see the Configuration is set to Release and the Platform is set to x86. If we change these, we can build a different deployment. For example, we can build a x64 debug version using the following command:
msbuild Daily.targets /property:Configuration=Debug;Platform=x64
To make this easier, I’ve created a set of batch files which go into the build directory. They can be found in the repository.
Helpful hints
- To save disk space, you can uncomment the last section of Daily.targets to clean up the intermediate build directories automatically. But be aware that doing so will prevent you from being able to build the WiX project in Visual studio.
- The .MSI package in this example is not digitally signed and may trigger Windows SmartScreen. You can digitally sign the package… but such a procedure is outside the scope of this post. I may write a future blog post describing this process.
- The Product.wxs .MSI installation template provided is just a basic working example with no prompts. It only copies the files to the correct Program Files directory. You can customize it further by reading the WiX documentation.
- The .pdb files are included in the installation but can be omitted by use of a XSLT transformation file. I may write a future blog post describing this process.
Conclusion
So this is how I created automated deployments for my .NET Core 3.1 applications. I hope this helps to provide a foundation for you to produce consistent deployments for your projects in the future. If you have any questions or feedback, please leave a comment. Thanks for reading!